DIY Bead Curtain
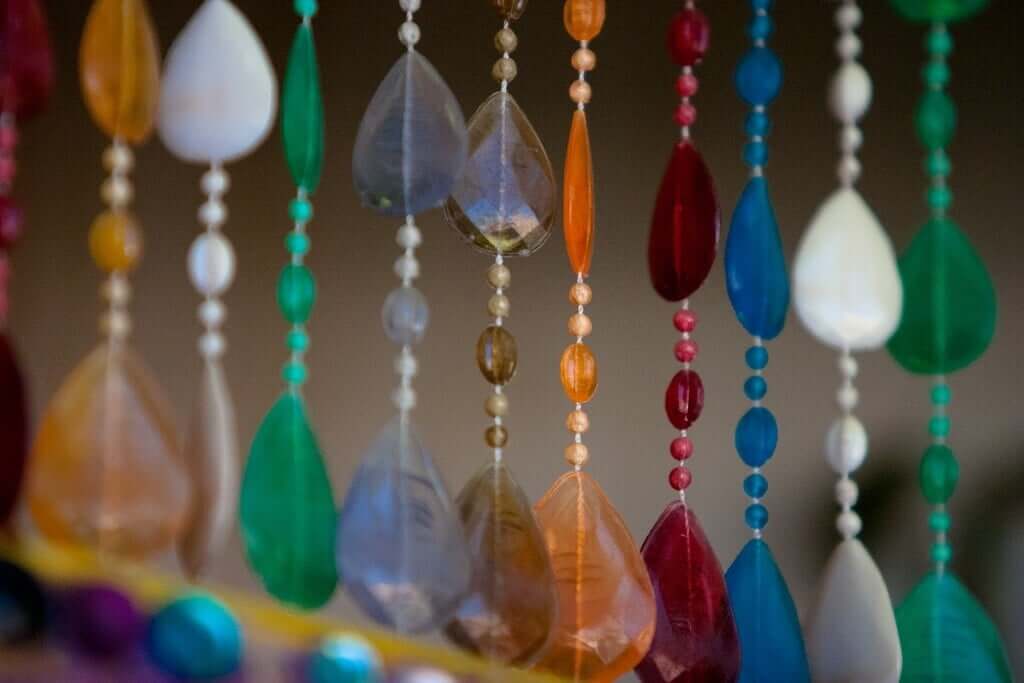
Bead Curtain – It is almost 2018 and everyone’s ditching the standard cloth curtain for the more eclectic bead designs to revive the look of their home interior. Beading has become a major craft sensation in recent years and has evolved into something more than jewelry designs, making its way into the homes of many! Inspired by the 60s and 70s era of beaded curtains and groovy designs, a nice bead curtain will surely jazz up the look of your home. To get that perfect replication of a 60s bedroom design, read on to find out how you can make your own colorful curtain out of thousands of beads.
What you’ll need:
- Full selection bead kit
- Crafts or hardware store fishing line (sturdy)
- Measuring tape
- Drill and nails
What to do:
- Measure the area of space you are going to cover. Measuring this area will help you determine how thick your bead curtain should be as well as how far apart the strings of beads should be to one another.
- Before you start implementing your bead design, be sure your thread is a stronghold, heavy duty cord as a piece of crafts thread is likely to snap with the accumulated weight of the beads. For this project, I recommend a strong fishing line from a hardware or sporting goods store.
- Measure the length of the area, cut a section of the fishing line off and tie a knot at the bottom of the cord. This will prevent each bead line from scattering and coming undone.
- Once you determine the appropriate color scheme for your room, you can begin inserting beads to the fishing line as you see fit.
Keep in mind that you’ll need to set aside some time to finish this project. Making your own bead curtain can be a repetitive but calming project. These crafty pieces also compliment flower light fixtures. Once everything is complete, transform your home interior by nailing your finished product over your door to showcase for your guests!

