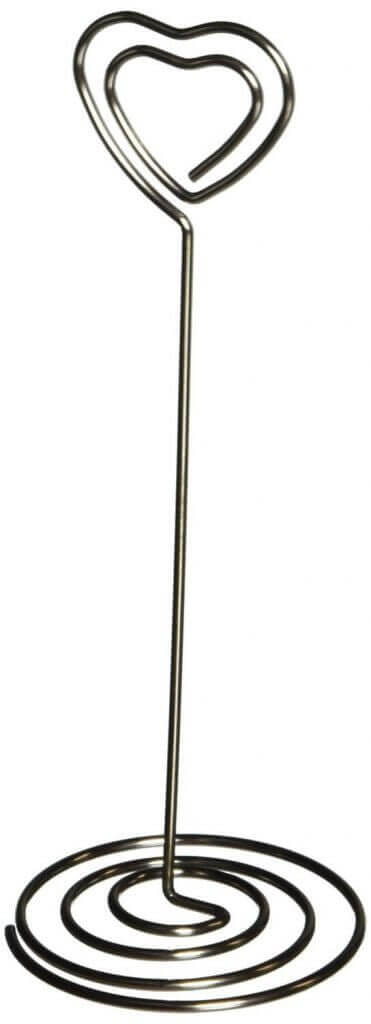
How To Make Your Own Wire Picture Holder

A wire picture holder is not only decorative but also makes a great gift. You can use them for photos in the dining room or as nameplate for a family holiday dinner. They are inexpensive and easy to make. So, if you do not want to shell out money for buying one, go to a store like Lowe’s and buy a roll of 18 gauge wire (about 110 ft.) for under $5.
Material needed:
1. Roll of 18 gauge wire
2. Round nose pliers
3. Something round like a glue stick
4. Wire cutters
5. Base
Instructions:
1. For each wire photo holder, start with a cut length of 11” to 12”.
2. Bend the wire at a right angle at about the middle of the cut piece.
3. Now turn the piece towards you so the bent piece is in front of you.
4. Wrap the glue stick around the wire to make a circular photo holder.
5. Hold the glue stick at the bend of the wire and begin wrapping the wire around the glue stick, away from you.
6. Wrap the wire around the glue stick two times.
7. Now slide the glue stick off the wire.
8. With round nose pliers, curl the remaining part of the wire tail around towards the circle to not keep the point of the wire exposed.
9. Tuck the long end of the wire into a base [form] and slide a picture or other thin object in between the wire circles.
10. You are ready with the finished wire picture holder.
You can fix a bunch of them in a bottle, wooden spool or miniature glass flower vases. The length of the wire can be cut to fit any project’s requirement. And the glue stick can be replaced with a marker or pencil, depending on the circle size you want. You can also change the shape and color the wire for a personalized look. Once you make some of these wire photo holders, you will be seeing all sorts of possibilities to create picture holders out of everyday objects!
