DIY fabric colored magnetic board
Please follow and like us:
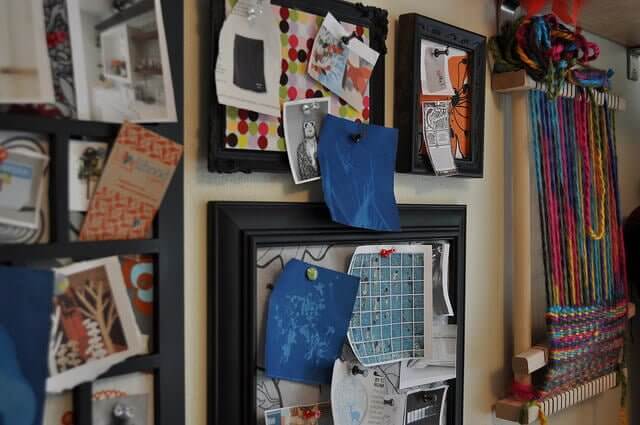
I don’t know about your house, but sometimes my kitchen gets filled with tons of shopping lists, coupons and receipts floating around. All the accumulated clutter was just enough to drive me insane till I came up with this easy, accessible, and cute way to create your own DIY fabric colored magnetic board
What you’ll need:
- Large frame
- Magnetic metal (available at craft stores)
- Silver metallic spray paint
- Decorative radiator covering (not magnetic)
- Piece of cardboard
- Decorative paper
- Fabric
- Scissors or heavy duty tin snips (for cutting metal)

What to do:
- Select a frame of your liking. Keep in mind that functional organizational boards are typically larger in size.
- Before getting started, use your cardboard as a template to draw out how large each piece of metal needs to be. This will give you a better idea on how or where to place the metal in accord to the frame.
- Once you’ve gotten everything cut up, you can start painting the magnetic metal for a more decorative touch. I used silver metallic spray paint for the metal backing because I found that it works really well on metal and wanted it to be as durable as possible, especially if it’s going to be put to good use!
- Put your pieces of the frame together and add all other embellishments to your liking. The decorative radiator covering will be used for a decorating purposes only. This piece should not be magnetic and should be placed first into the frame, followed by the magnetic board. Or, if you do decide to go the fabric colored magnetic board route, you can insert the fabric covering over the metal instead of the radiator covering. Either will work just as efficient.
- If you’re looking to divide your magnetic organizational board into different sections, add a few small wooden plaques with decorative paper and vinyl labels to the board. Adhere by using picture hanging strips which will help keep the wooden plaques in place.
Tags: fabric covered magnetic board, silver metallic spray paint