DIY Painted Wooden Signs
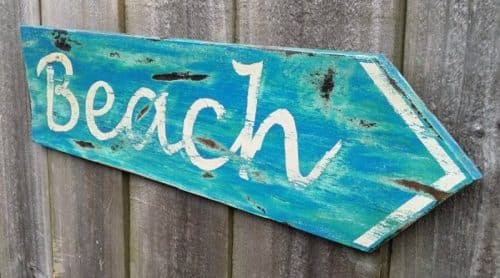
Making your own custom painted wooden signs is a great project and is also a opportunity to offer unique present.
Here are the the following materials you will need to get started:
- Pine board, the size you need
- 2 paint colors
- Silhouette vinyl
- vinyl cutter
- Sand paper (fine grit)


Cut the pine board.
Cut the pine board and cut the edges too with a 45 degrees angle.
Sand one side of the board.
Sanding is a very important step, for the side that will have the text. the finish surface needs to be smooth so the paint will not leak during the stencil process
Cut your vinyl with the design and the design you want (stencil)
Vinyl cutting machines became very affordable – Craft Corners recommends that you buy one, it will be a great investment with a lot of applications!
Paint the background of your sign (both side).
Apply your vinyl stencil
This step is also critical – The more tightly you apply it , the better and more durable your wood sign will be.
Paint though the Stencil
Remove the stencil
Enjoy!