DIY wall pocket organizer
Please follow and like us:
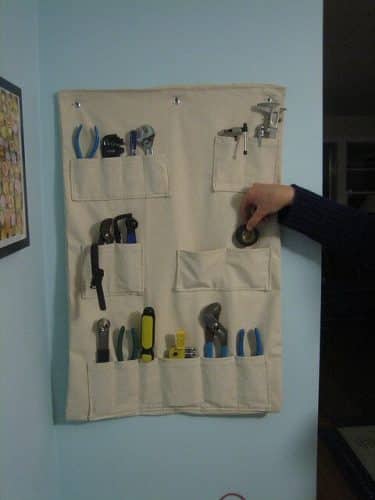
There is always going to be an organizer available to fit your needs and budget. Wall pocket organizers can maximize the space of your room or closet. If you’re not much of an organized person, you may want to consider a wall pocket organizer to minimize the clutter that may accumulate in your closet over time. The only problem is that a lot of wall pocket organizers out there are available in cheaply made, unattractive material. Making your own wall pocket organizer is not only easy but will also offer a decorative touch and a splash of color to your room.
What you’ll need:
- Sewing kit or machine
- Iron on
- Fabric
- Heavy duty decorator or upholstery fabric
- Wall hooks
- Pins
- Fabric glue
What to do:
- Give yourself enough space to spread out your tools and fabric for this project. One of the benefits in creating your own wall pocket organizer is that you can make it into whatever size you wish.
- Determine how many pockets you wish to have on your fabric or how many will actually fit the available space. Consider using one fabric for the back and a different material for the pockets. For each row of pockets, consider using a colored thread to match the fabric. This will give your project an element of design and add a pop of color to your room.
- Section out all the pockets and arrange them with your pins when you’re satisfied with their placements.
- Sew the pockets to your organizer. For quality results, I highly recommend using a sewing machine for this project for long lasting, quality results.
- If you have other embellishments such as ribbons or iron ons, use a stronghold fabric glue attach them to the pockets or any space left on the surface.
- After the embellishments are done drying, nail or tack your wall pocket organizer in the desire space.