DIY wooden frame
Please follow and like us:
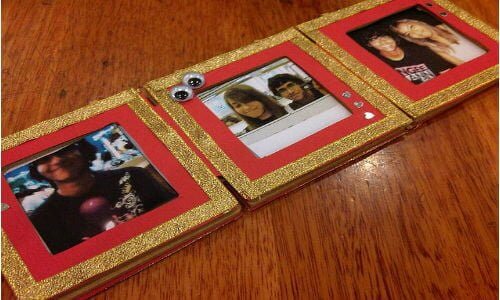
Nothing helps improve the appearance of a photograph, drawing, print or other artwork than a good ole picture frame. I don’t know if it’s just me, but every time I venture out to craft stores looking for the perfect frame, I feel as though my creative options are stifled by either the size or design of the frame. I typically go for a wood design, but they too are a bit on the pricey side. So, I decided to take matters into my own hands and create a mock wooden frame! Avoid the high prices of buying custom frames by making your own distressed wood photo frames
What you need:
- Glass or plexiglass
- Carl paper cutter
- Paper tape
- Superglue
- Exacto knife
- Ruler
- Mat board

What you’ll do:
- Using your paper cutter, cut your own mat board and plexiglass to your desired frame size. Carl paper cutters are equipped with a slanted edge which’ll make your cuts more precise and easy to use.
- If you’re using plexiglass, remove the film and stack the plexiglass, mat and photograph collage, and cardboard on the back.
- Use a sponge to wet your paper tape. Transfer the tape before it begins to dry and place it gently starting in the middle and working toward the edges.
- Next you’ll want to pull the tape tightly over the edge and around the back smoothing out the surface area nicely. Repeat this step with the opposite edge and then finish with the last two edges. You can usually eyeball the thickness of tape and then try to match the last three sides to the first.
- Allow this to dry for at least an hour or so before hanging. If you’d like to showcase your wonderful design, you can mount an extra piece of tape onto your frame for support.