How to make beaded bracelets
Bracelets are one of the rare accessories that span the entire range of a person’s life. Different types of bracelets are appropriate for everyone from children to teens to adults – unlike wallets or chokers with spikes on them, you’re never too old or too young for a nice bracelet.
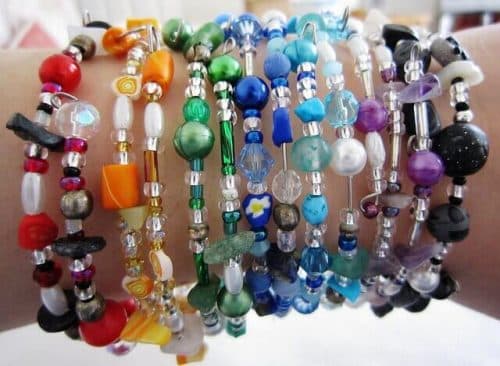
Needless to say, we at Craft Corners enjoy making our own bracelets! So let’s get to it. There are just a few very basic things you need, which are probably already in your crafting desk and storage area:
Tools
- Pliers
- Side cutters
- Bead stopper
Materials
- Beading wire
- Crimp beads
- Clasp
- Beads
I just made a black bead bracelet for my baby cousin the other day, and I did it by following these easy steps:
1. Decide on bracelet length.
Use your side cutters to cut the beading wire two inches longer than you want your bracelet to be.
2. Arrange beads on wire.
Place the bead stopper on one end of the wire to keep your beads from falling off. Then begin putting your beads on the wire one by one in the attractive arrangement of your design.
3. Tie one end.
Slide the crimp bead next to the last bead in your design. Put the wire through the clasp as well and bring it back through the crimp bead. Tighten the loop just enough so that it’s only visible up close, but still allows your clasp to bounce. Flatten the crimp with your pliers.
4. Tie other end.
Push all your beads to the finished end. Remove the bead stopper from the other end and repeat step three using another crimp bead and the remaining piece of your clasp.
5. The finishing touch.
Make sure everything’s in place and secure then cut any excess wire. Attach the clasp around your wrist and you’re done!
It’s as easy as that. I was pretty proud of the bracelet I recently made and I hope you are as pleased with yours.