DIY Nail Art
Fashionistas have been falling all over themselves for quirky manicure designs lately. Manicures have come a long way and these days, getting a manicure is all about nail art and playing around with current trending colors and adding more intricate artwork to polish designs. Decking your fingers out with fun designs is what’s currently in and a great way to alter your mood and show off your fun personality. Who needs a professional manicurist to touch up your nails when you can do them yourself… all from the comfort of your home?!
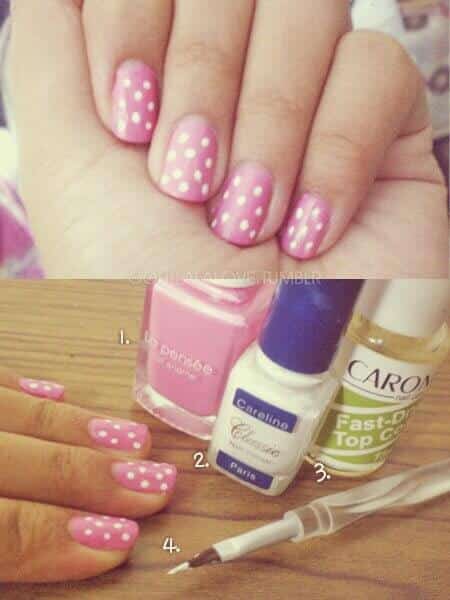
What you need:
• Fine paintbrush
• Nail art stickers
• Acrylic paint
• Top coat
• Base coat
• Rhinestones, glitter, etc. (other nail embellishments)
• Aluminum foil 18 x 1000
• Optional: stamp kit, nail pens
What to do:
1. Before getting started, it’s important to note that a good set of acrylic paints is essential for nail art. You can use nail varnish to paint your deigns, but they can muck up your brushes and take a while to dry. To save you time cleaning afterwards, it’s best if you paint over a cloth or aluminum foil to avoid a mess.
2. Apply your base coat and let it sit a couple seconds before applying your desired color.
3. Next, apply your base color and allow a couple minutes for it to completely dry.
4. Remember that nail art takes time and practice. Begin practicing with simple patterns and designs such as stripes, dots etc. This will allow you to become adjusted to your brush, helping you to become comfortable with using it at a certain angle.
5. Dip your brush into the acrylic paint and carefully sketch your desired design.
6. Remember that a good topcoat is a MUST for nail art because you need to make sure your design is sealed, so do not forget to seal in your top coat!