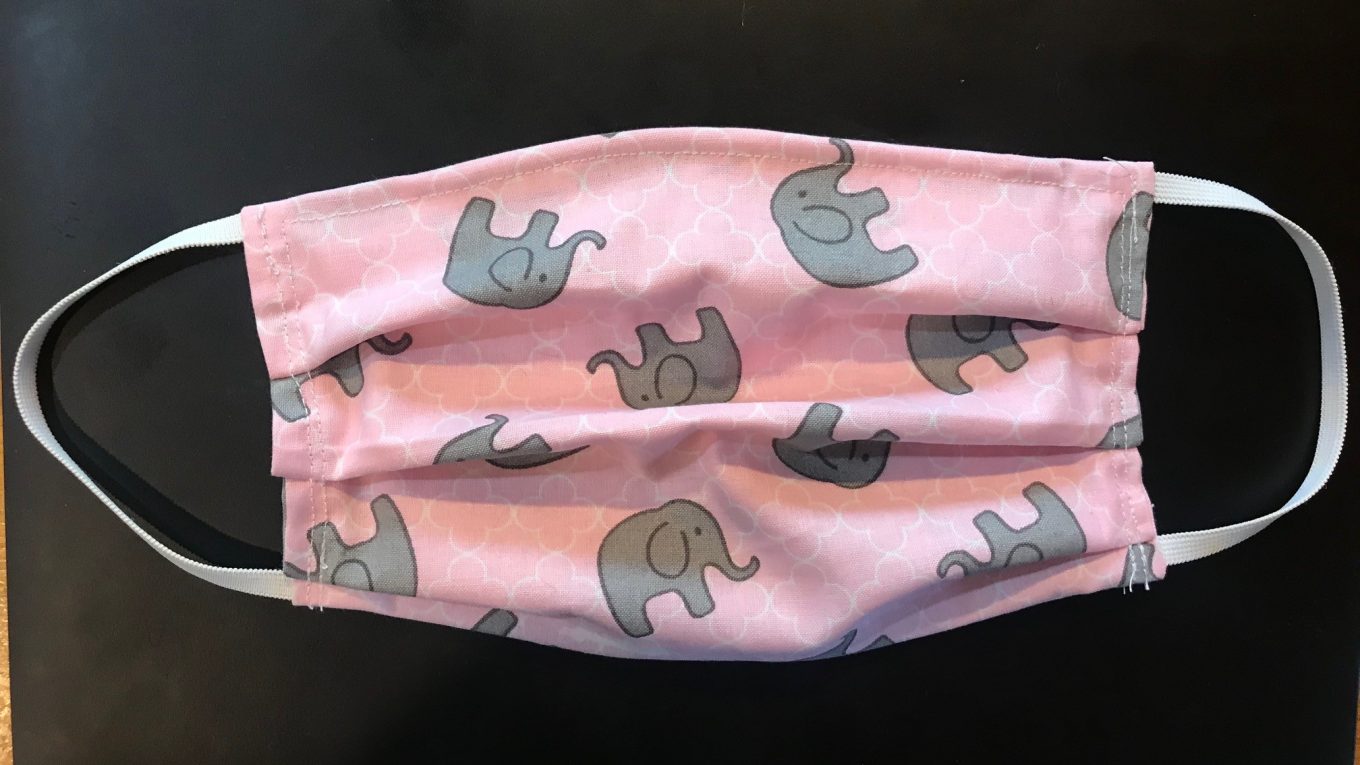
Homemade Facemask With Filter
Wearing a homemade facemask is mandatory in some states and desired by many to help prevent the spread of the corona virus. Most stores and pharmacies are out of disposable masks. And as an average consumer having to find your own facemask has become a challenge and sometimes an obstacle. Many news outlets are giving directions on how to make your own mask. If you are not handy with sewing or crafting, try a homemade facemask with homemade facemask filters from us.
How To Make Your Own Homemade Facemask
- 100% colorful cotton fabric
- Adjustable wire nose strip
- Elastic straps
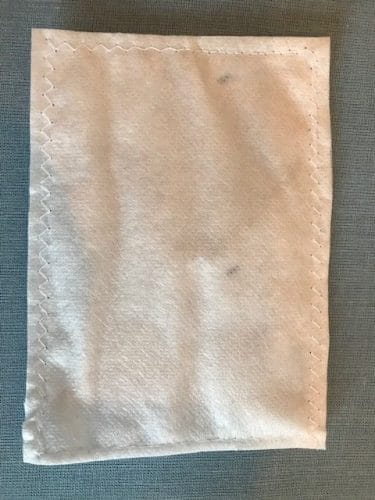
- Filter pocket | includes 1 filter (vacuum bag material)
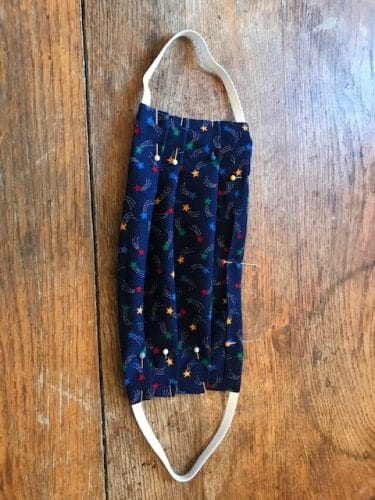
- Finished mask is approximately 8in x 4in (with pleats)
- Handmade in the USA
I sew the each homemade facemask on my mother’s vintage sewing machine, using small batches of 100% cotton fabric that I found in my fabric box. These items are handmade and not mass-produced.
Step 1: Cut fabric 9in. x 15in. Fold in half, inside out. Press flat with an iron if desired. Measure at 3in. and 6in. on the open edge at the top and mark with fabric pen. Sew a straight seam leaving ½ in. seam allowance to the 3in. mark. Use back stitching to secure all seams. Leave an opening and start sewing again at the 6in. mark. This allows for an opening to insert a filter if desired. Open seam and fold flat, repositioning the open seam to be even with the top of the mask. If you would like, press the fabric flat with an iron.
Step 2: Cut two 7in. strips of elastic band. Secure one end of the band with a pin at the top of the mask, and, stretching carefully, secure the other end of the elastic band to the bottom fold of the mask with a pin. Make sure the band is completely inside the mask and is not twisted. Repeat with the other side of the mask. Sew a straight seam, with backstitching, from top to bottom, being careful to keep the elastic band free from the needle and leaving a ½ in. seam allowance. Repeat on the other side of the mask.
Step 3: Turn the mask outside in and press flat with your hand. You should measure the fabric from top to bottom and mark the fabric with a fabric pen at every inch on both sides of the mask. Starting at the bottom of the mask, fold the 6in. mark up to the 5in. mark to make a pleat. Secure with a pin. Repeat by folding the 4in. mark up to the 3in. mark and the 2in. mark up to the 1in. mark. Repeat on the other side.
Step 4: Take a pipe cleaner or other wire and cut it into 6in. sections. Slide the pipe cleaner into the upper edge of the mask and secure in the center of the mask with pins.
Step 5: You should start sewing from the bottom left of the mask. Using the edge of the mask as your guide for seam allowance, sew straight up the side of the mask. At the top, turn the mask and sew a straight line, securing the pipe cleaner in the top edge of the mask. At the corner of the mask, carefully turn the fabric again to avoid wrinkles and continue to sew carefully down the other side. Be careful to adjust the presser foot if it gets caught under the pleats by stopping with the needle in the fabric and lifting the presser foot to adjust the fabric back into position. Sew to the bottom.
Step 6: As an added support for the pleats, you can sew an additional straight seam from top to bottom on each side between the edge of the mask and the seam securing the pleats.
Step 7: Cut a 4in. x 5in. square of a vacuum cleaner bag. Sew with a zig zag setting around all the edges to secure the filter from separating. Fold the filter and fit it into the pocket.
Step 8: Now you can wear your homemade facemask everytime you leave the house. Be sure to remove the filter to gently hand wash the mask and air dry.
BUY it now here: https://www.ebay.com/itm/184241238978