How to make a bottle cap necklace
There’s a new trend right now in the jewelry world that’s catching on fast: the bottle cap necklace. These necklaces are a great way to recycle old bottle caps, but they’re also a great statement piece that will give the perfect vintage aesthetic to your wardrobe.
And the best part? You can make your own bottle cap necklace in a few easy steps!
You’ll need:
- 1 bottle cap
- Scissors
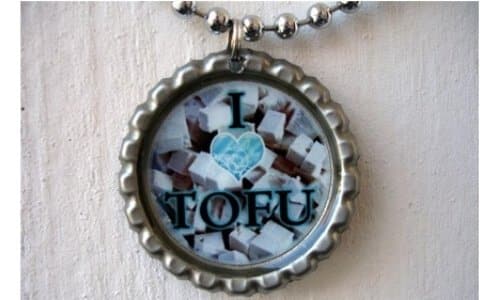
- 1 inch circle image to use for your pendant
- Glue
- 6 mm jump ring
- Drill with small drill bit
- Chain necklace
- Resin coating
To start, you’ll first want to find the image for your bottle cap. You can search the internet for digital collage sheets or just to find an image that will fit well in a 1 inch circle. Cut out the circle image with scissors and glue the image into the center of the bottle cap.
If you’d like to flatten you bottle cap, you can do so at this point by placing a rubber mat over the bottle cap and taking a hammer to gently fold the rough sides of the bottle cap over.
Take your drill and your smallest drill bit, then drill a hole at the top of your bottle cap. (If you’ve flattened your bottle cap, you can drill a hole in the ridged edge of the bottle cap.) Once you have a hole, you can string your jump ring through the hole and then squeeze the jump ring tightly back together.
Apply the resin to the image inside your bottle cap by following the manufacturer’s instructions on the bottle. Make sure there are no bubbles when applying the resin, and then cover the bottle cap while the resin cures. Applying the resin to your bottle cap will protect it from dust and other elements, which will help preserve your bottle cap necklace.
Once the bottle cap is dry you can string your chain necklace through the jump ring and proudly wear your new, personalized, statement piece for all to see!