How to make a wall organizer using wine corks
Please follow and like us:
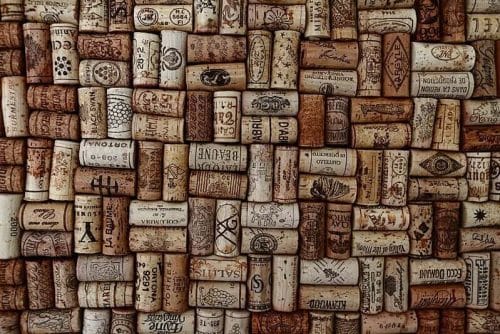
Welcome to the first official Craft Corners blog post! Today I’m going to show you how to make a super easy, fun craft you can hang anywhere in your home. Instead of throwing your corks away after drinking a bottle of wine, save them and create a simple, stylish wall organizer. Not only is it easy, but its eco-friendly because your using recycled corks and materials.
Materials:
- Wooden frame
- Wine corks
- Hot glue gun
- Scissors
- Thumbtacks
Let’s get started:
- First, you will need a wood frame with a back. You may have one lying around or you can purchase them at local craft stores (Hint: A wood serving tray works great!)
- Get your corks together and decide on a pattern. You can do row after row going the same direction or come up with something more creative. I personally like doing two horizontal and two vertical repeated. It’s up to you!
- Heat up your glue gun
- When glue gun is ready, place a strip of hot glue down a cork and place it in the top corner of the wood frame (going which ever direction you choose)
- Press and hold for 5 seconds. Hot glue takes no time to dry!
- Grab the second cork, place hot glue on it, and line it up next to the first cork.
- Repeat these steps, row by row.
- When you get to the last row, chances are the corks are going to be either too large or too small. If this is the case, using scissors carefully cut the corks into the right size and continue to glue and place until the board is covered.
- Congratulations! You’ve completed your cork board wall organizer. Now grab some thumbtacks and start decorating.