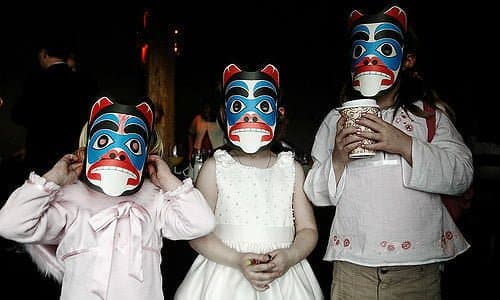
How to make a monster mask
Getting started
If you have already purchased a monster mask craft kit, then many of the supplies you will need to create your mask will already be included. These items include a mask mold, markers, paint, or craft clay. If you are making one from scratch, you can choose your own supplies to create your own unique mask. For example, you can paint a 3 oz paper cup
to and glue it to your mask to be your monster’s nose. If you use two, they can be the base for horns. Here are some custom mask ideas:
Paper bag monster
By taking a brown paper grocery bag, you can easily create a paper mask. This type of mask can be wrapped around your child’s face and fastened in the back by masking tape or thread. Measure around your child’s head, and make sure to add a couple of inches so that the mask can comfortably be adjusted. After you’ve cut holes for the eyes, your child can use markers, feathers, paint, or whatever they choose to decorate their mask.
Shaggy monster
If you have a plastic face mask, this will create a great base to create a shaggy monster mask. You can cut 2 inch pieces of yarn and glue one side of the yarn in bunches to imitate a shaggy hair appearance. Using construction paper to create a mouth with sharp teeth would add to the scary effect.
Masquerade masks
Masquerade masks are really convenient to use since many already come with elastic string for easy wearing. You can create scary designs on the plastic part of the mask, and then add fabric that drapes down over the rest of the face.
Since masks can be made out of paper, cardboard, plastic, clay, and other materials, you and your child can get creative when making your monster mask. What did you and your child choose to do for your monster mask?

