Easy DIY Cat House
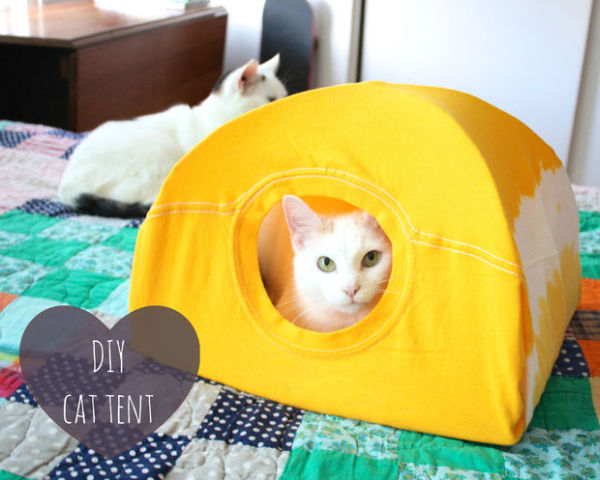
With the famous cat tree, sleeping corner is one of the accessories the most important for your faithful companion pets. The concern is that between the old plastic doghouse and the old fashioned cat basket, there is not a lot of choices to find a nice house for cat. This is a much more original for cat House for your sweet cat.
Build a hut for cat is super easy to do and is really cheap! The cat tent requires little material and its realization does not take more than 15 minutes. Shelter cat is important, it allows your cat to take refuge in it to hide when he wants to be quiet and feel safe.
House for cat – Material:
You’ll need:
- a cat
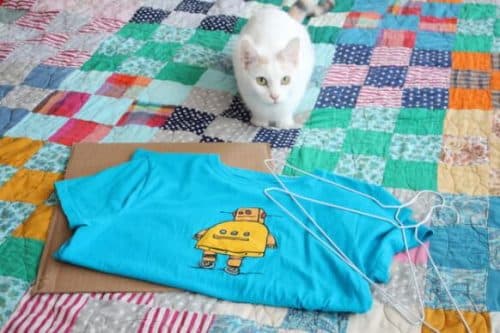
- a t-shirt
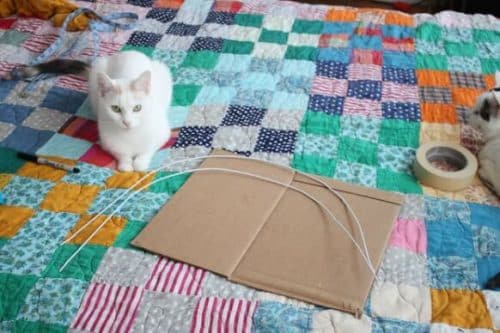
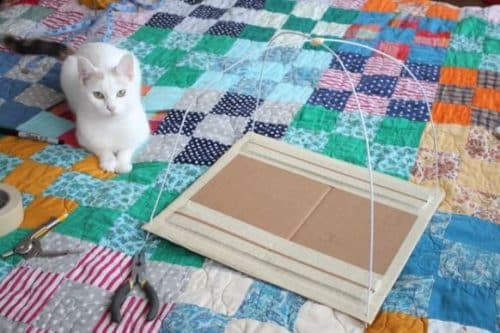
- a piece of cardboard 35 x 35 cm
- two hangers (like those in the image)
- tape
- Safety pins
- something to cut the hangers and help you to fold (for example a large pair of pliers)
- a cushion for cat or blanket (optional)
House for cat – tutorial:
The tent structure for cat – cut the hangers:
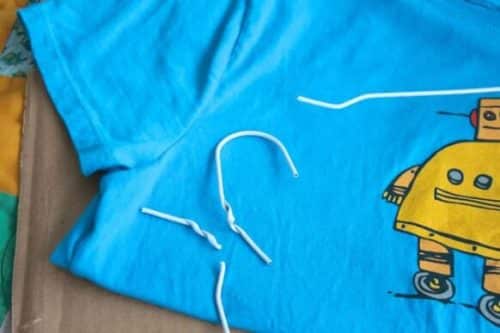
Cut both ends wavy.
Structure of the House of the cat – shaping of hangers:
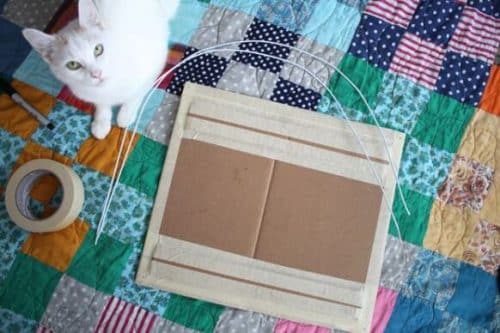
Shape the hangers so that they look like the above. Try to smooth them out evenly. The goal is that the two curves go gracefully from one corner to the other of your piece of cardboard.
You can also strengthen the cardboard with tape. Attach tape around the edges for more stability. What is really needed if you use a piece of cardboard with an inside fold.
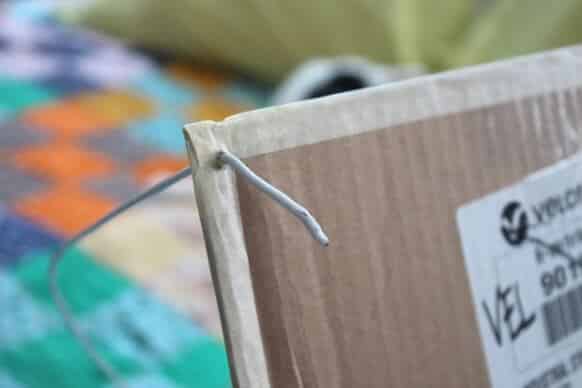
The ground of the shelter for cat – drill a hole in each corner:
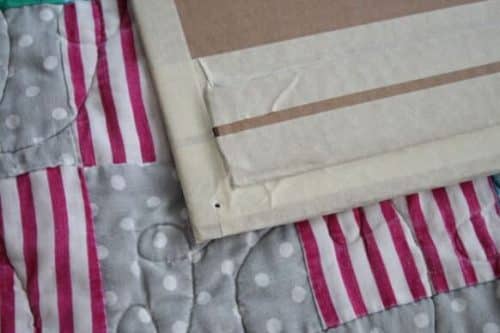
You can use the tip of the hanger to make the holes in each corner.
Make sure your holes are less than 1/2″ on each side and they are not too large.
Assembly of the structure – paste two hangers together:
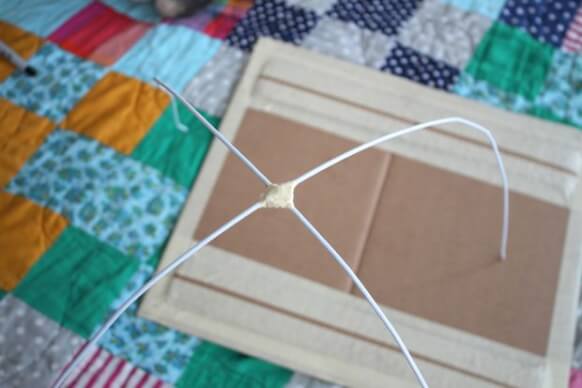
Cross the two hangers together in their environment and make sure that all ends touch the surface on which you are working. Glue them together so that they do not move.
Push the ends into the holes you made in the corners of your cardboard.
Niche cat – finishes:
Bend the ends and glue
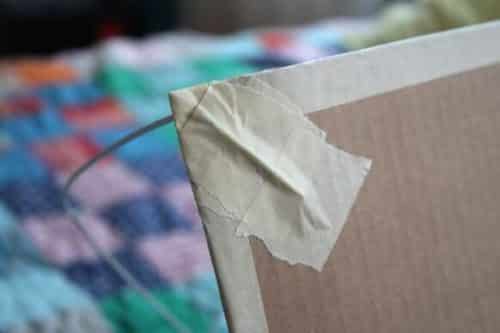
Fold each end of at least 1″ below the cardboard so that it lies against the bottom of the carton. Glue the ends flat on the cardboard. Make sure it is stuck so that the ends don’t cling to the T-shirt when you shoot!
Check that everything is aligned
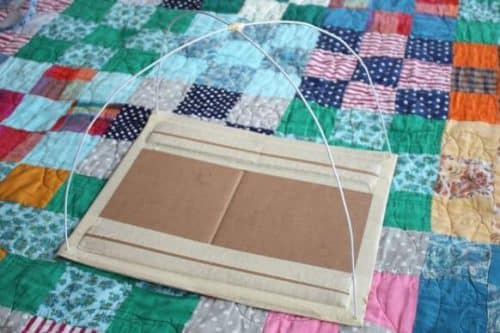
Cat – cat tent accessories
At this point, you can bend the wire so that it is perfectly put together. You can use the pliers if you need to recover a little structure.
Create the tent to chat – place the t-shirt:

Pull the shirt on the structure of the cabin and position it so that the neck hole is on the front middle of the structure and the bottom of the T-shirt is penny structure, at the level of the cardboard.
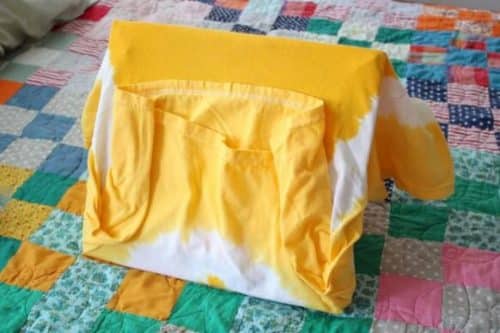
Return all so that the bottom is facing you and the hole facing up.
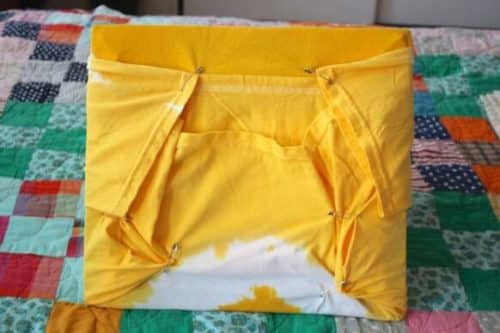
Fold the excess of the T-shirt and tighten until the neck hole is tight on the structure. Keep all with safety pins. Then place the sleeves and tighten well. Pins – the.
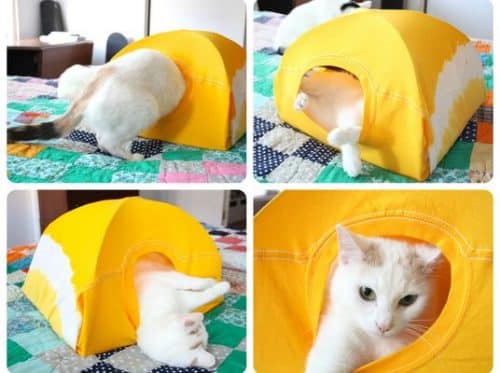
As you can see in the last image, the T-shirt should be pretty tight on the structure. The choice of not to cut too many T-shirt and pin it allows to remove it more easily.
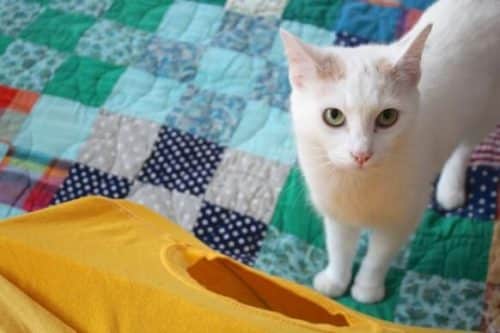
Your cabin is ready for your cat!
Don’t forget to install inside the tent of your kitten with love. A small cover if it’s not too hot or a soft cushion for a perfect cat sleeps (or even a warm jumper). To give interest to your cat, feel free to place a few treats or small toys for the cat in the cat shelters. You can add grass to chat or even a scratching post for cat cardboard so that he’s having fun.
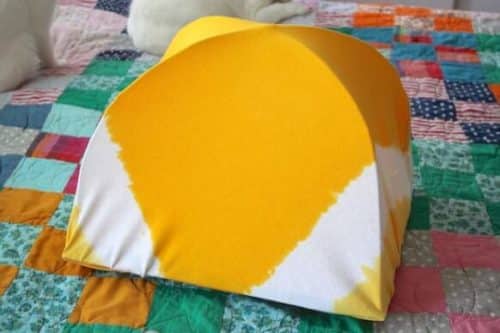
What’s great with this bed for cat, it’s that it washes out easily. But if you prefer, spray a little pest control when your cat get fleas. This tent is suitable for dog and cat (small dog).
As you can see, the cabin for cat was quickly adopted, a small good siesta and it is left for the adventure!